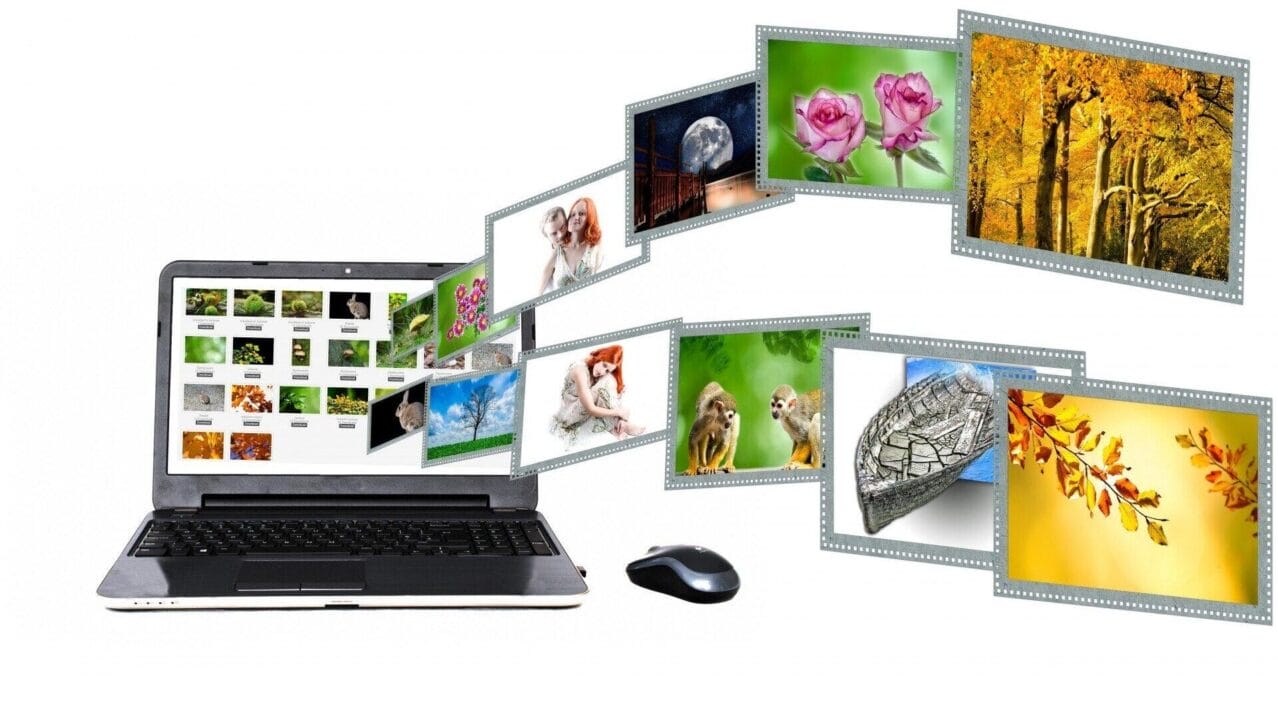
Need to change a picture file to another format?
A free online image converter can help. It’s fast, simple, and doesn’t cost anything. You don’t need to download a program or have special skills. With just a few clicks, your image will be ready in the format you need.
Whether it’s for school, work, or fun, using an image converter is easy. Follow each step to get it done right. Anyone can do it with the right steps and a bit of time.
Pick a Trusted Website
The first thing you need to do is choose a trusted website. Many free image converters are available online, but not all of them are safe. A good website should be easy to use and free of too many ads. It should also have clear steps that show how to change your image.
Check for signs that a site is safe. These include a web address that starts with “https” and no pop-ups asking for personal information. Some sites also show customer ratings or reviews. That can help you know if others had a good experience.
If you are not sure which site to use, ask someone you trust or search for a list of top-rated converters. Sites with clean designs and simple tools are usually better. A safe website makes the whole process faster and easier.
Upload Your Image File
Once you pick your converter, find the upload button. It may say “Upload Image” or something similar. Click on it and choose the picture file you want to change. You can pick files saved on your computer, phone, or even from cloud storage.
Some websites allow you to drag and drop the image. Others let you upload more than one picture at a time. Check if there is a file size limit before uploading. If your image is too big, the site might not accept it.
Wait until the image finishes uploading. This may take a few seconds, depending on your internet speed. Once it’s uploaded, you will be ready to move on to the next step.
Choose New File Format
After uploading your picture, you will see a list of file types. These may include JPG, PNG, BMP, and more. Pick the one that works best for your needs. Some formats are better for printing, while others are better for online use.
If you’re not sure which one to choose, JPG is a good choice for most pictures. PNG is better if you want a clear image with no background. GIF is often used for simple animations.
Make sure the format you choose works with the program or device you plan to use. If you pick the wrong one, your image might not open later. Once you’ve picked the format, move to the next step.
Start the Conversion
Now that you’ve chosen the format, it’s time to start the conversion. Look for a button that says “Convert” or “Start Now.” Click it, and the website will begin changing your image. This step may take a few seconds or a little longer.
Some converters offer extra options before converting. You might be able to crop the image, adjust the size, or change colors. Others let you make GIF from video files or turn photos into black and white. You can explore these options if they are available.
Make sure not to close the website while it works. Wait until the process is complete. Once it’s done, your image will be ready to download in the new format.
Download the New Image
After the converter finishes, you will see a button to download your new image. Click on it to save the file to your device. Choose a folder where you can easily find it later. Some websites may even let you save it directly to your cloud storage.
Check the image to make sure it looks right. Open it to see if the size, shape, and format are what you wanted. If something went wrong, you can go back and try again.
Some websites keep your file for only a short time. It’s best to download the image as soon as it’s ready. That way, you won’t lose your file or need to repeat the steps.
Check File Size Limits
Before uploading your image, check the size of your file. Some websites only allow files up to a certain size, such as 5MB or 10MB.
If your file is too big, the site may not accept it. You might see an error message, or the upload may not work at all.
You can find the file size by right-clicking the image and checking its properties. On phones, you can check this in the photo details.
If your file is too large, you can resize or compress it using a different tool. Many free tools online can help with this step.
Use a Good Internet Connection
A stable internet connection helps the process run smoothly. Slow or weak connections may cause uploads to stop or take too long.
If your internet cuts out, you may need to start over. This can waste your time and make the task harder.
Try to stay close to your Wi-Fi signal or use a wired connection if possible. This helps with both uploading and downloading.
If you’re using mobile data, check your data limit. Some image files can be large, and uploading them may use up your data.
Keep Your Files Safe
After downloading your new image, make sure it is saved in a safe folder. Don’t leave files on random parts of your device where they could get lost.
If you plan to use the image later, rename the file so you can find it fast. Use clear names with dates or project titles.
Avoid uploading personal photos to unknown websites. Stick to trusted sites to keep your files private and secure.
It’s also a good idea to delete the image from the site if that option is given. Some converters allow you to remove your files after use.
Finish with Confidence
Changing an image file is easy when you follow each step. You don’t need to be an expert or use any special tools.
With just a few clicks, you can get the file you need. Take your time, check your work, and enjoy how simple the process can be.